
Welcome Ashley, our guest blogger this week, to Nurturing My Nest!!
Hey there, my name is Ashley Dennis. I am so excited to share one of my favorite things! Almost 2 years ago I moved to a little southern Alabama town. With my newfound slower pace, I found myself looking for new hobbies. I’ve always loved being outdoors and have always appreciated pretty flowers. Naturally, an interest in gardening began to grow. No pun intended 😉 That interest grew into a love. Soon this love turned into a job that I now adore with a website where I share little tidbits I’ve learned.
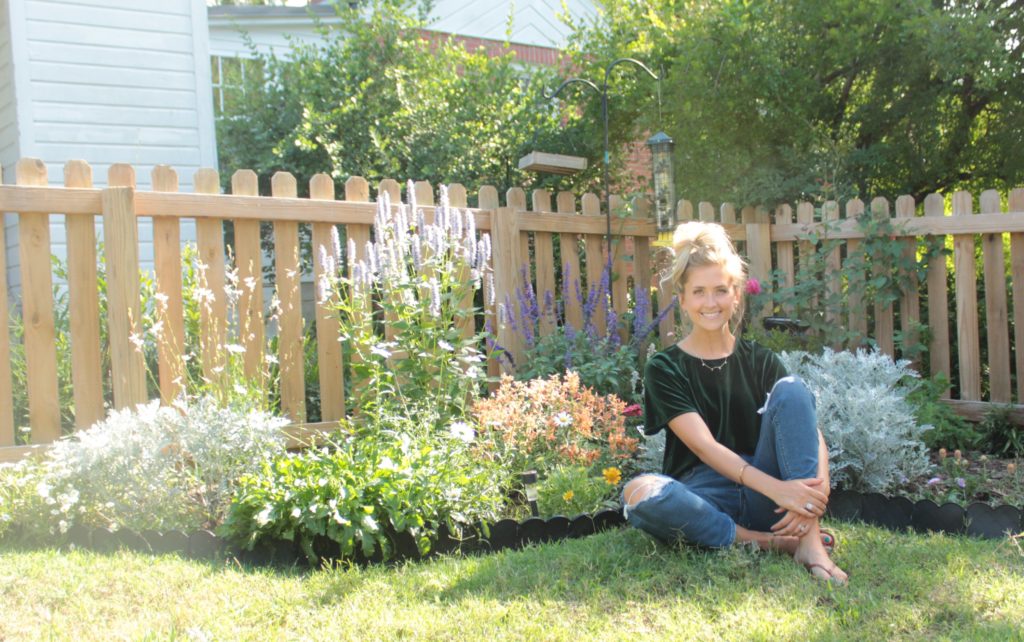
One of my favorite garden looks is a “cottage look”, sometimes known as a butterfly garden. I love their airiness and the way they flow in the wind. Their vibrance helps you hone in on color schemes and designs that make it feel like you. All the beautiful tiny creatures that come flooding in as soon as they sense the blooms create such happiness.
If you’re creating in an area that already has a bed, skip ahead to fertilizing and planting! If you’re starting from scratch, my favorite process for establishing a bed is as follows:
- Trace your bed, I typically use a hose which seems to do the trick. Or you can wing it!
- Using a weed eater, start to carve out the space. I work in two layers. A major chop followed by raking or blowing out the grass I’ve cut creates the fastest results. Next, carve out the rest of the surface grass to get to the soil.
- Cover the ground with cardboard. Why? It doesn’t release harmful toxins. It degrades over time. It suffocates weeds and grass. I prefer it over killing the grass with some kind of spray. When you plant you’ll want to cut through the cardboard so the roots already have space to grow.
- Now fill with topsoil!
- Lay out a slow release fertilizer
- Plant
- Mulch
Let’s go back to step six to develop a “butterfly garden recipe.” Mix in two key ingredients: annuals and perennials. Perennials come back every year and tend to be the taller plants in gardens because they have time to mature over the years. Annuals just add pops of color creating an opportunity for fun as they change each season. Because they are less commitment, they keep your garden from looking the same year after year.
Here are a few of my favorite perennials:
X Gaura comes in two different colors. The vibrant pink tends to have a denser looking foliage or select the white with soft pink accents and daintier looking foliage. Gaura grows to be around 3 feet tall and wide making it a great background plant.
X Agastache comes in many colors. My two favorites are Blue Fortune and Poquito Orange. Blue fortune is taller reaching up to 4 feet tall and wide while Poquito Orange is usually around 2 feet tall and wide, but a bit more compact.
X Coneflowers come in beautiful shades of yellow, orange, red, pink and white. These beautiful flowers grow to be around 2 and a half feet tall!
X Bush Daisy will be around 3 feet tall and wide. With their constant yellow flowers, they brighten up any spot.
X Lantana comes with a word of caution. I don’t suggest it for the gardener who wants low maintenance. Lantana needs lots of shaping and staying on top of BUT pollinators love it!! So, to the dedicated gardener, this is a great addition.
Now let’s chat annuals:
X Petunias come in so many color options that it’s the perfect way to add your preferred color to your space. Keep an eye out for “Supertunias.” They handle the heat excellently meaning longer bloom time. Sometimes from spring all the way to fall! They mound and spread so they’ll get to be about a foot tall and around 3 feet wide.
X Mecardonia are also known as Gold Dust. This beauty is a low growing bloomer which will stay around 6 inches tall and spread a foot or two.
X Salvia comes as annual or perennial and grows to be 3 feet. Some may only grow to be 1 or 2 feet. They’re all beautiful!
X Zinnias. Look at your local nursery for established plants or grab a packet of zinnia seeds! Starting from seed is not as daunting as it sounds either. They’re some of the easiest to start! They also vary in height! So find the perfect one to fill in that empty space.
Height and width for each plant are important for planning. When planting against a wall, place the height in the back. If creating a space that will be seen from all sides, plant tallest in the middle and then work your way down all around.
Okay! There we go! Good luck to you and taking on your butterfly garden! It’s the most exciting thing when you’re finished and butterflies, bees and sometimes hummingbirds come swarming in. For more garden tips and tricks, head over to LifewithAshleyMarie.net!
Thank you to my special guest, Ashley, for sharing all of her wonderful ideas. We are eager to see what you are planting in your spaces. Please show us your gardens in the comments below:


comments +